Been behind on my updates due to the return of college life mixed with a lack of funds for more glue. The last thing I built was a couple Ammo boxes to use as Ammo Grot tokens.
One of the other reasons I'm backlogged is that I've become the Warlord of 40konline’s Way of the Waaagh (essentially the main leader/motivator of the forum).
But naturally I have the urge to build, which leads to the need to take photos and find someplace to store them, namely this blog. And since I've gotten my grubby little mits on some photocopied pages of Imperial Armor 8 I have plenty of new projects in mind!
One in particular will derail Projekt KoS for the time being, as there is a game at my LGS next month where they want everyone to bring in Imperial Armor lists (hence why I have the photocopy).
With little time, few bits, and the cheapest superglue I could find I'm gonna do my best to get together an IA 8 list ASAP.
Battlewagon 1, now named the Grim Villun as been completed and participated in its first game yesterday!

 As you can see I did some new Glyph work, although the Grim Glyph isn't anywhere near as perfect on this Battlewagon as it is on BW2, I rather like it. Because this glyph is mounted on the side instead of straight it only further enhances the look of the model. Interesting side note on the Villun glyph is that it is from the Freeboota book from 2nd Edition, which I still have never been able to find a copy of.

 Dags were really the name of the game in detailing the Grim Villun, and I did so in a number of places. This is for a couple reasons, one of which is that the now standard and iconic checkerboard pattern of black and white strips is actually a Goff Symbol (and the only Goff I like is a Goff Rocker), but the Dag pattern which is less often seen is universal for all clans.

 And here in these last pics are just a few of the other details hidden about the tank, such as the damaged Trakks, the rear hatch, and the Reinforced Ram. Boom Boom Boom, the Grim Villun Freeboota Battlewagon is rolling thunder down the town, better gangway before getting flattened!

I got dem Battlewagon Blues, all down dat line. I say I got dem Battlewagon Blues, just all da time.
...Er...
Right, so I've been working on them, none of them are exactly finished.
Been working mostly on the finer details of Wagon 2 and the main assembly of Wagon 3, already nicknamed LongHaul. Its strange how the first and 3rd Wagon I seem to get some energy and creativity to put through and I get stalled out on the 2nd.
Anyway, here's some shots of BW 2...


 Yea, I'm rather pleased with how that Glyph turned out. The Grim Glyph, its always been my personal favorite glyph design. Something about it just screams Waaaga to me. Now admittedly I didn't get it perfect, but it does look better in person than in the picture. And even though it's a minor detail, its by far one of the coolest details I've ever made and its easily the best Glyph I've ever made.
Oh, there will be the usual top to the front weapon mount, I don't know what happened to it which is why it is missing from the picture in the left, and as for the right, ignore the metal miniature staring through the window, he's just your average Peeping Tom. Actually I'm going to have either a Grot or Ork head peering out of the window, which will make it harder to paint what with final assembly happening post painting, but it'll be worth it in the end.
And on to BW 3, which really exploded from nothing around 2 or 3 last night. Number 3, AKA Long Haul was planned to be a reversed Leman Russ with a chopped off front end and a Kannon centered in the middle of the Hull. Well plans change...


 I think its obvious where Battlewagon 3's nickname comes from. This puppy just looks long and sleek like a nice classic caddy. This wagon, along with the first wagon's back carriage is a scrapper, meaning that since my supply of Plasticcard is so low I actually took apart an old naff looking conversion to put this one together.I see it as a kind of Orky recycling, the krummy konversions of yesterday, powering the new Krumpy Konversions of tommorrow. The Grot spotter is one such example of this, it was originally the main detail of a buggy that I never quite finished that's been sitting in my bitz box for... I don't know how many years. The Grot himself was/is from the now discontinued Fantasy Starter Box of Orcs vs. Dwarfs. I still have to model in a handle for his little door, but its still the best use of a crummy one piece model.Debating on if I want to put in a Trukk bed type of device or not into the back. I could, it wouldn't be hard, but it also might be nice to instead plop a bunch of worky bits on to the back of the section. These questions and more will be solved after I solve them.Peace~OD
Every now and then we get stuck in the mud. And that's kinda what happened to me for the past few days. So to alleviate that, I took a looksee around at what other quick little project I could up and get done. And that lead me to the Nid Warriors.
I haven't played much Nids since 5th. Actually only 2 or 3 games since the new codex was released. But leading up to the release I got my hands on some Warrior sprues.
Now my biggest problem with Tyranids is that just about everyone of them look the same. BORING! I like each model to have some individuality, frankly if it's possible I'd like to have every model worth being called a centerpiece, and the majority of Nids just can't do that with standard static poses.
 So here's a couple that don't fit that standard template. Err, well this first one does pretty much fit that standard static template. I was able to alter his tail slightly, which looks interesting in real life, but the photos of it look, well as if it was less a tail and more a...
 Anyway moving on. So this bad boy on the side, well let me just say no the picture is not inverted, Houston we have a Lefty. Not a hard conversion, but not perfect either. The Deathspitter came from a Carnifex, but this particular piece I didn't get pristine, you can notice an area of the cabling which is broken, almost looks as though it was clipped. Also since it doesn't line up perfectly I had to use some Plasticard for filler, which just like the cable will look better once I greenstuff.
And Now for this months showpiece (not like I do a monthly showpiece) the Leaper. Yea I know that Warriors don't have the Leaping Biomorph anymore, But I liked it.
 I thought that it gave a model a more dynamic look to it, and yeah the fast charge was a nice upgrade so Warriors could keep up with Hormagaunts. Oh wait they don't have that fast charge anymore. Anyway that's today's post. And I'm back to the tanks after this, I swear.
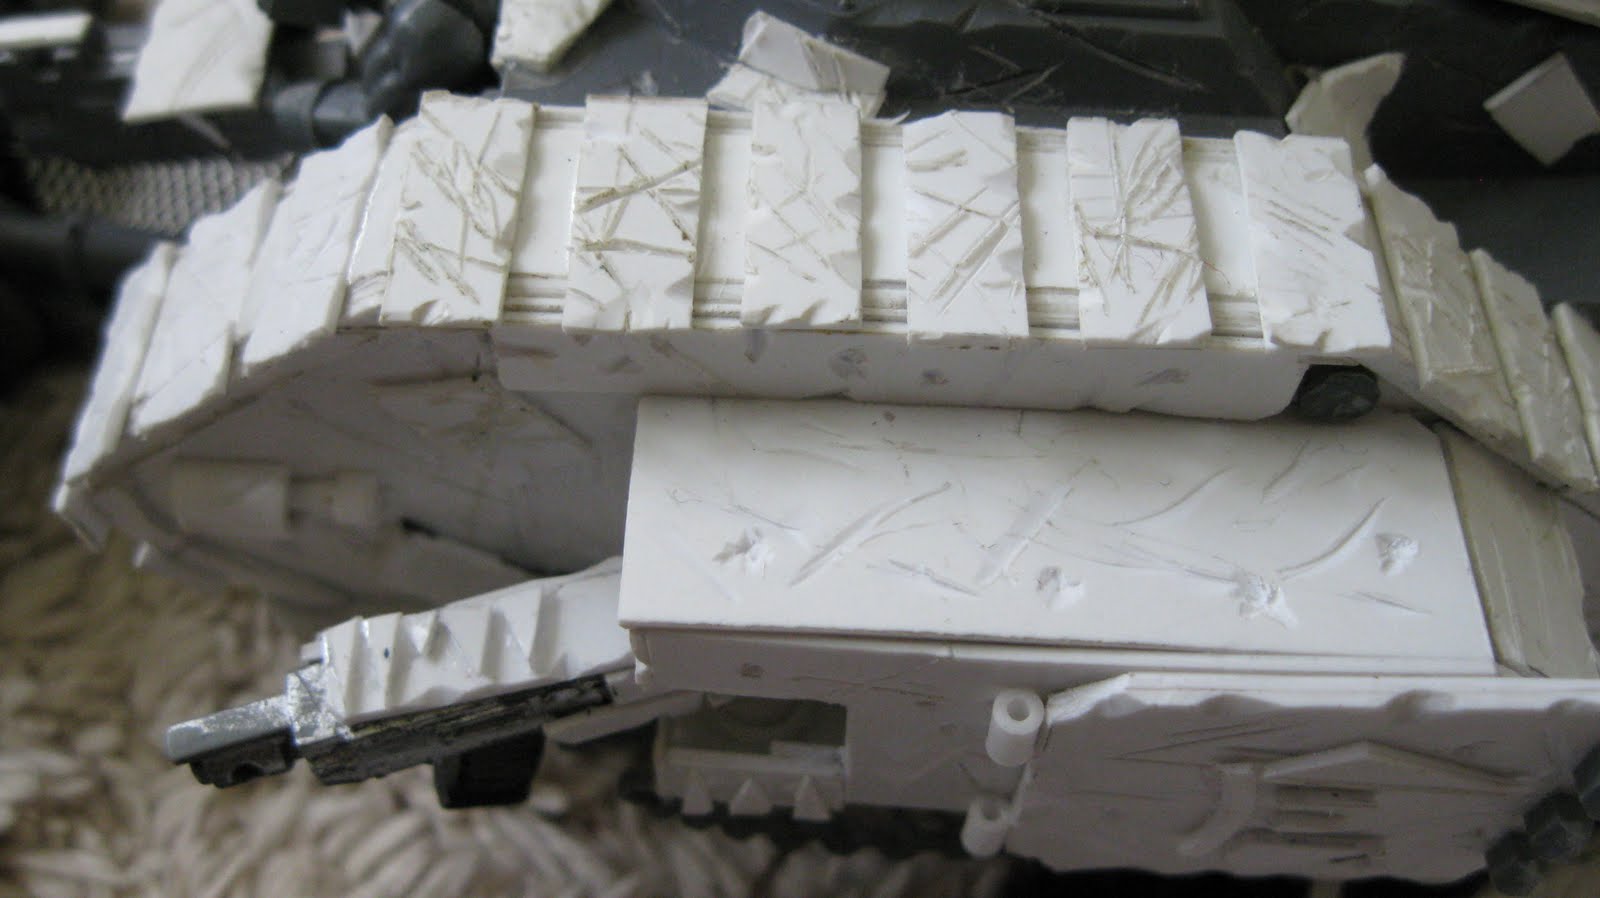
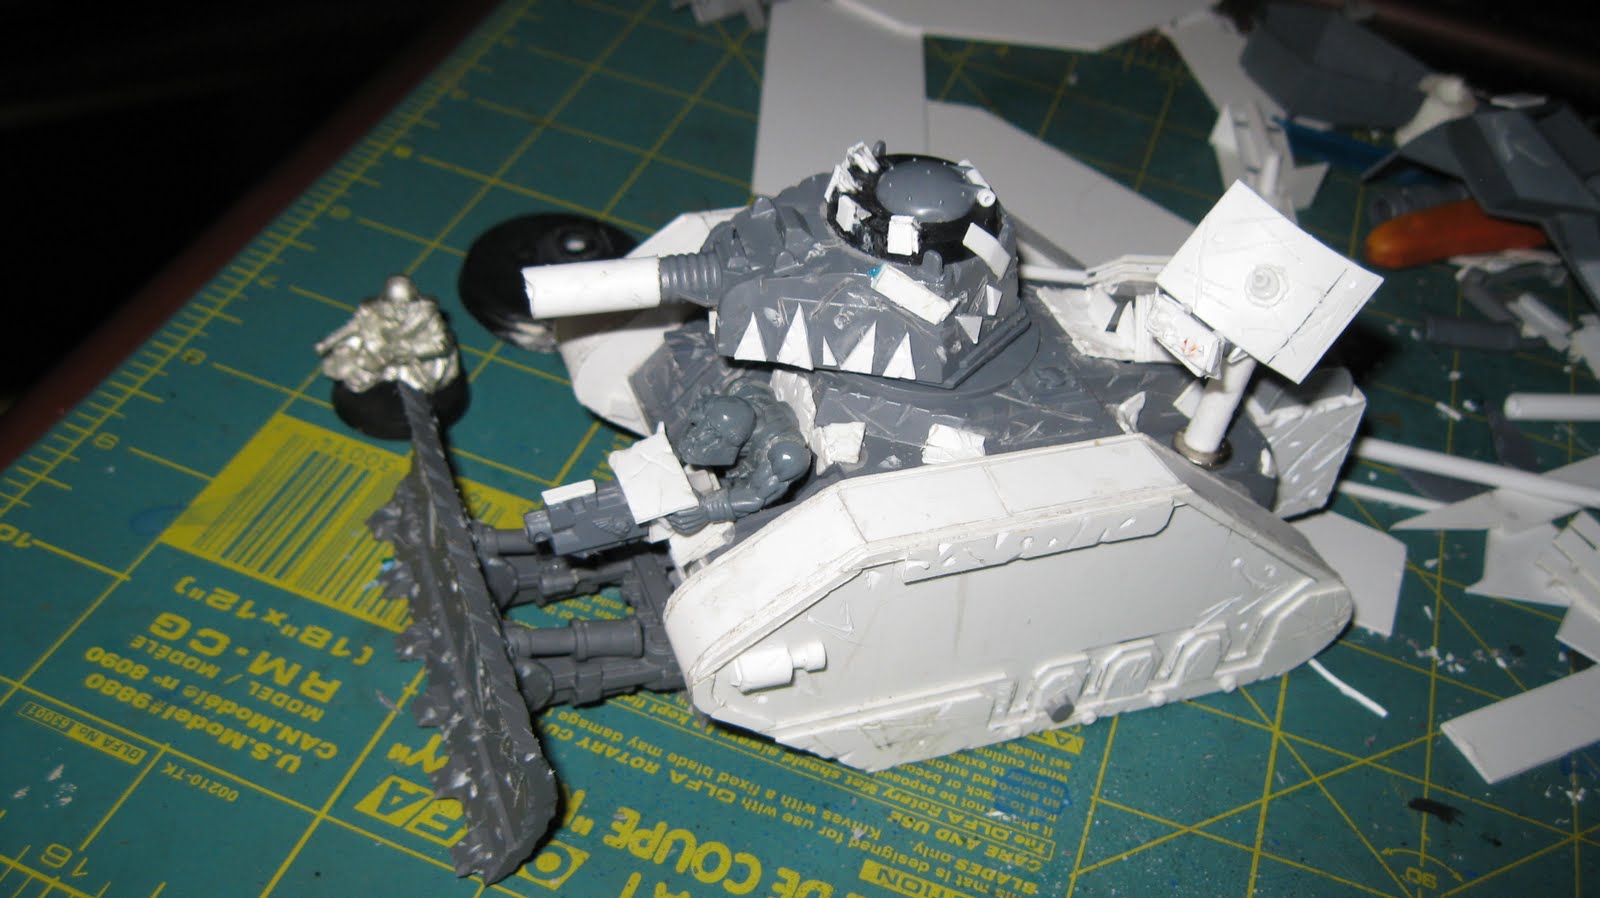
So this first Battlewagon, which as laid incomplete for Gork knows how long is getting ready to lumber down the battlefield, which means its 2 brothers aren't far behind. I am starting to think that maybe people won't take it for a Battlewagon, and complain of it, but one thing's for certain is that after painting no one will recognize that the sides are not GW gray.
The picture on the right is yet another mundane detail of the standard Leman Russ, where these circular bits on the side correspond with the wheels driving the tracks. It's not flashy or big, but its the little details like this which bring this scratchbuilt track unit closer to the Imp Guard standard to which its supposed to have been looted from.
One of the best features of this tank I worked on considerably last night and today, only to realize that I had been forgetting to take pictures. This piece would be the Turret itself, and I needed to have at least one of these 3 new wagons to have a classic style'd turret.
 From bland and Boring to nice and Krumpy. I had to go to lengths to cover that hole and try to scratchbuild together a cover. I knew I wasn't going to have a pintle weapon on the mount, but didn't want to waste the bit when I know I'll need it elsewhere. Hence the hatch from the hull mounted gun went up along with a base and some plasticard to make what appears to be very similar to the GW pintle mount.
  Here's a side by side of a regular Leman Russ turret with this Orky design. The scratchbuilt hatch is admittedly not a perfect copy, but its close enough that it's likely that only a guard player will note the difference.
And so here she is in her close to completion state, the first in my new line of Battlewagons.

 Unfinished bits: Left side minor detailing of the wheel holes, finishing right side minor detailing Attaching or retrofitting Side Sponsons Attaching the side doors leading to the interior of the tank Attaching the rear door Gluing down the Reinforced Ram Creation of a scenic base for the tank
Peace
~OD
So we all experience them from time to time, I've been experiencing one for the last week or so with having to completely up-end my work area for the need to use the Garage as a car-hold.But despite that I'm back to work this time on Battlewagon 1, trying to get a little more of those details down so that few (if any) recognize that the sides are not GW grays.
 So today's big work is in the side piston, which any real Tread head would know is integral to how a Tank can turn right or left. Of course any real Tread head would know what the hell they're called.
But that little dinky thing on the side couldn't possibly have been difficult, right? Well actually it was more difficult then it should have been, and I didn't even get it completely accurate since it's supposed to have some armor and rivits in a rectangle around it, but sometimes you have to let something go.
Of course I realized after finishing this near worthless detail that its not going to really be seen too often.
 This would be my current plans for the sides. Unfortunately the Big Shoota got a little cut off in the photograph, but I think you can pretty much get the jist of it.
Peace
~OD
 I think I did quite nicely in that. About a month ago while walking I discovered a discarded piece of PVC pipe just outside a construction site, one end a shattered mess. Planning to find a use for it, I picked it up, and low and behold when cut to size it is the exact dimensions of the new Kan models.
 These, admittedly aren't the greatest pics in the world, however they show the crucial extension and flippage of the Worky Bitz to get more use out of them while keeping both the mostly kit built and the mostly scratchbuilt at the proper gaming dimensions.