Saturday, June 1, 2013

Defending 3rd Edition

*blows off a thick layer of dust*
Wow, I guess I haven't been in here in a long while.  Wow I actually have someone whose decided to "Follow".  That's exciting!  This past week I've been reading a lot of blogs, and it's made me realize that as a crazy opinionated person with a degree in English and a lot to say, that I really should work on that more often.  So I'm gonna try, and I'll hope you uniteallaction, are just the first in a string of future readers.  But now onto the meat and potatoes...

So I was reading a blog post this morning (I don't remember which one otherwise I'd cite it), but this bit I remember quite well as it's stuck out in my mind all day;
"3rd and 4th Edition were struggling to find footing, and as a result were really lackluster"
I'm paraphrasing, the language was certainly saltier, and both 3rd and 4th Editions were being put down considerably.

Wednesday, October 31, 2012

Dakka Jets Complete!

So this is really just to show off the completed work on the build and paint side of the Jets (well the base for Jet 2 as well), I really think it's some of the best I've done, and Dakka2 is currently my favorite scratchbuilt (Dakka 2's the one with the scenic base by the way)


Peace
~OD

Friday, October 26, 2012

46 hours in, Dakka Jets

Ugh.  Past few days this projekt has seen multiple setbacks, the worst of which being multiple breakages which force rebuilding, a few stray pieces and multiple real life encurisons when trying to work on this.  As such 46 hours is the current stand, and for that I suppose it is a good amount of work, just not as much as I'd like.

(note hour 40 projekt update is here in the Junkyard thread)

The landing gear built for Dakka 1 has been reappropriated for Dakka 2, it works better here, especially with it modified at an angle, the problem with the landing gear originally was that it broke the speed feel of the model.


Also have the first side flap of Dakka 2 built up.  It's not perfect, but its not as bad as it could be.  Once the other side is complete the only thing left on Dakka 2 will be to finish plating and then it's complete.  I only pray I don't have to reconstruct anymore of it, otherwise my target completion of the end of the month will be missed.


Dakka 1 has been a bit more successful in construction during this time block.  On the right is after 3 or 4 hours in, the left is the current.
The guns are great, but I'm personally thrilled at the additions of the Leman Russ vents.  The round tanks are from the Leman Russ set as well, originally part of the forward mounted Lascannon.  When I put it together I was originally thinking of them as external fuel tanks, but the more I look at it all together, they look more like ammo drums.  Either case this bird is relatively well.  All that's left for her is finishing the last details on the engines

Au Travail.

Saturday, October 20, 2012

DakkaJet Update 36 hours in

Well here's a big ole update on the DakkaJet Projekt hour 36...

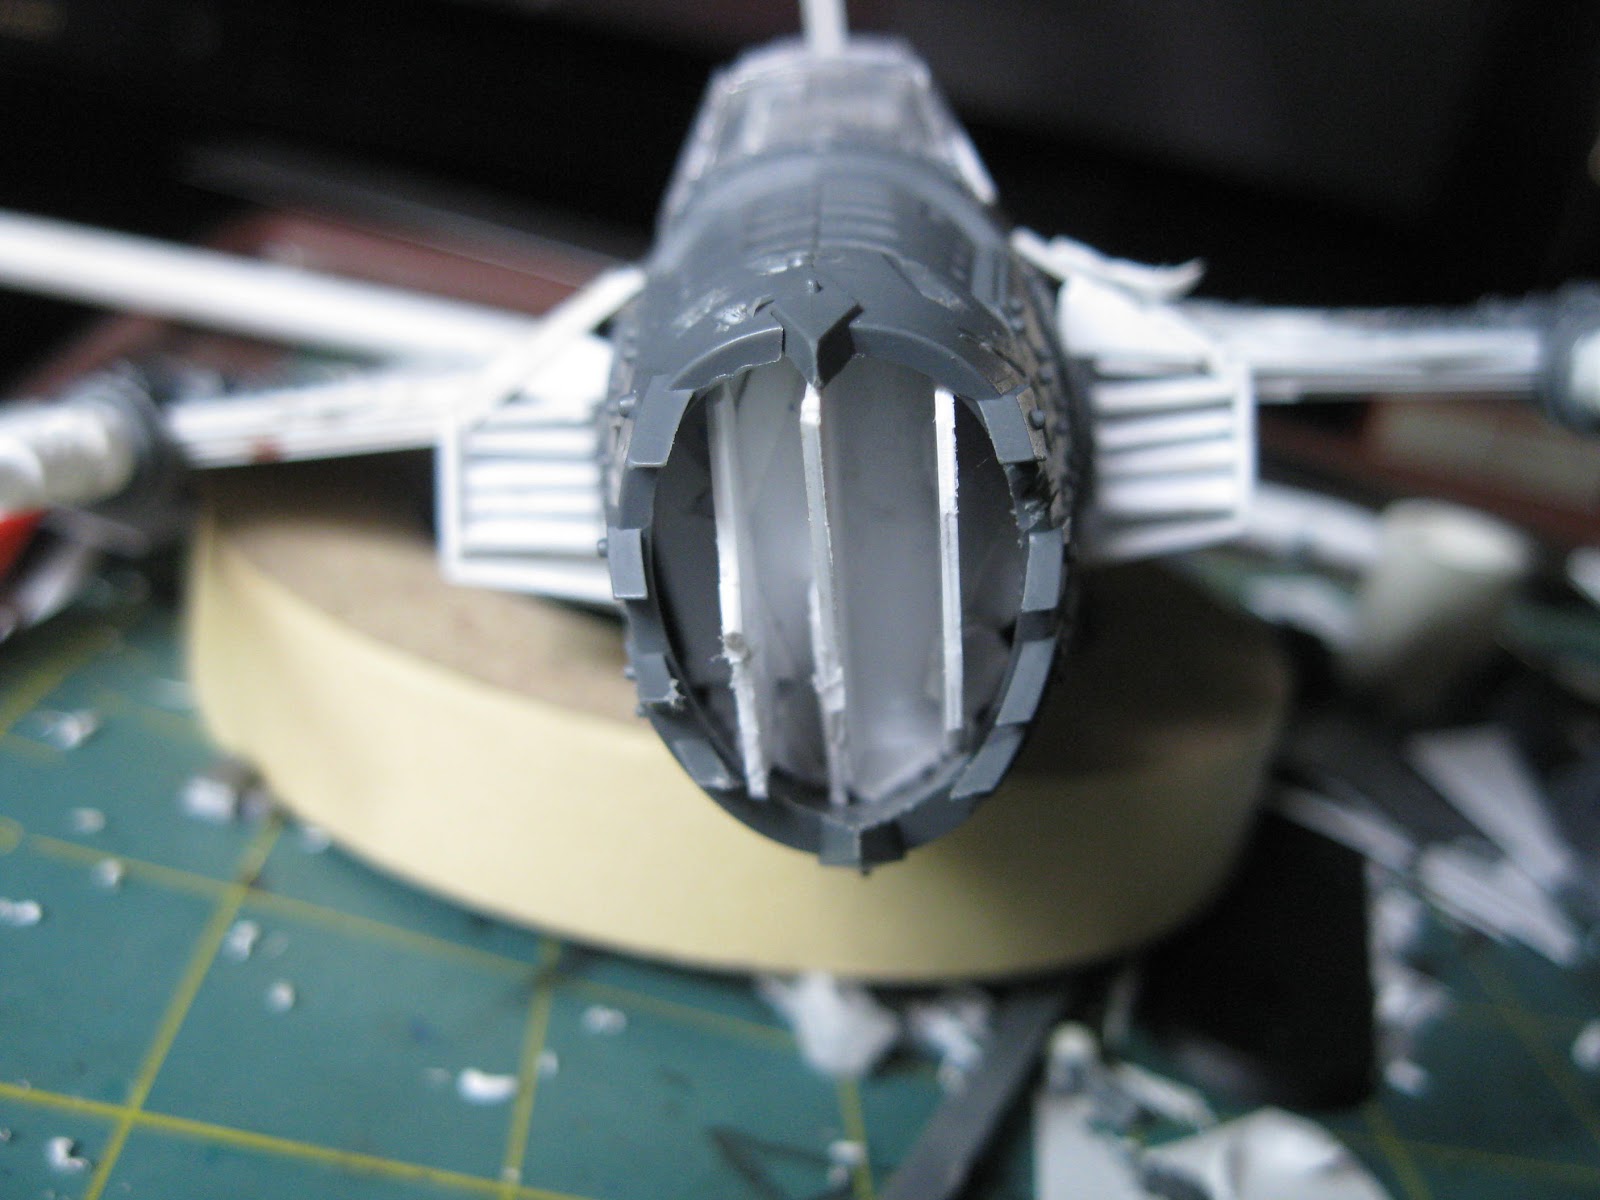
 The wings for Jet 2 have inlaid housings for the Supa Shootas and the beginnings of wing flaps that are ready for plating.  Additionally there are 4 ready to mount Supa Shootas and all the parts ready for an additional 4 (well one needs drilling, and 4 need an additional housing detail, but just about ready to run).

Jet 1's front intake is ready to roll and the canopy work is... well done.  I had originally wanted to do something a little different with the jet, my plan had been to switch the rear canopy around and place a pilot in there, but it just didn't work out.  In any case I dig it, and besides no good conversion ever goes exactly as planned.


The base now has a Killa Kan torso.  It's actually one of my favorite scratch Kans I've ever built, shame he's already dead.  


Thursday, October 18, 2012

Brushing the Dust off

So I only recently remembered that this blog existed, so I'm brushing the dust off and bringing it back as an excuse to build more shtuff.  Also I've recently realized that I really like the build than post progress, especially because looking where it came from and the evolution of a model's progress is cool.  And who knows, maybe something someone will read.

Currently I'm working on a project for 40konline's Way of the Waaagh's event titled The Junkyard: Gitz it Done Event II.  The Event is a way to encourage participants to complete their Orky projekts that are incomplete and get them to tabletop standard by the end of the month.  My contribution is 2 Jets out of 1 box.

This is where I started the projekt out on the 5th.
 As you can see, not all that impressive.  Just the main body of the standard kit mocked together with rubberbands and 2 length of PVC pipe cut and glued together at close to the same proportions (admittedly not exact, but close).

Now I am 30 hours into the projekt, and they look considerably different.  I'm not going to post all the WIP's here, especially when I've already done so on the Junkyard post.  But I will be posting the current looks, starting with the Base...

At the beginning of this block of time (post hour 26) the scenic base for the scratchbuilt looked like it does
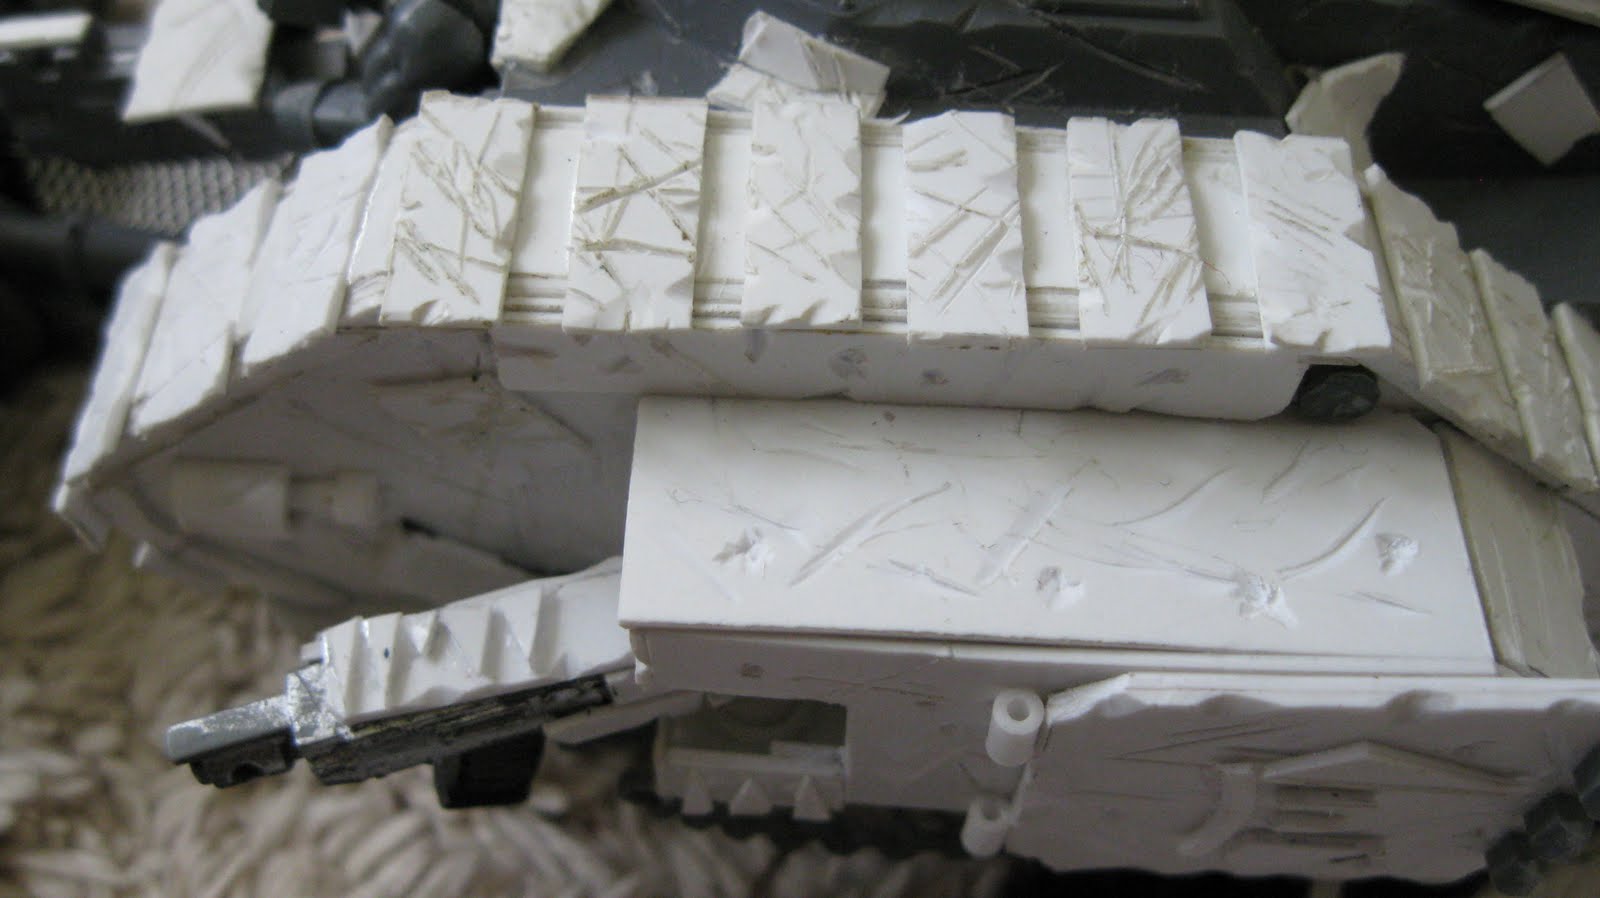
on the left.  Pretty cool huh?  I think so.  I based the base on the old Orky concept of scrap piles, and what better resembles scrap than a blown up Leman Russ and cut up bits of sprue?  (Yes the side of the Russ is scratchbuilt from card).  Anyway shortly after posting my last update on 40konline, I was putting some boxes away, when one fell out of my hands and scattered its contents across the floor of my closet.
 

It was there that I rediscovered this old gem I had managed to trade for, an old 2nd Edition era Lictor. I've always been a fan of the Lictor, both as a model in all its incarnations, and from a fluff perspective, but rulewise they've progressively gotten worse every edition.  But this was a chance to rejuvenate the old!

You may note that there aren't legs or the Scything Talons, that's Ok though.  Gives a bit of a challenge.

So here I am, plopped him in hanging on to the pipe I had to add as support.  He fit in unbelievably perfectly into the nitch, it's rare something works so easily for me.  The Talons I got in a trade, I think from the Trygon kit, whereas the leg is from the Warriors kit.  I also figured with those cool Flesh Tendrils firing he needed some poor victim around so I put out one of the AoBR Orks (3 piece models that were hard to convert, this is a good use for him.)

If you couldn't tell, working on this one base is a considerable drain on time, but it is quite worth it I think.  At this point the base itself without the flyer would work well as a centerpiece for an army.  But of course there's still a long ways until its finished.

Moving onto the Jets themselves, most of the work on paneling has taken place.  Jet 1 now only needs the undercarriage, specifically under the wings, but is on hold until I figure out the other weapon mounts.  Jet 2 (the scratchbuilt), is about 60% in this stage, the top portion is complete but I still need a bit on the sides.  The bottom can't be done until everything else is so I can find where the center of balance is to attach the pipe.
It was at this point that I realized that Jet 2 felt slow.  Originally I thought this was due to only having 3 thrusters instead of the 5 on Jet 1 and thought about adding a couple extra engines.  However instead of doing that I rumaged through the bits box and found some DE rudders for wings!
 The picture doesn't do it justice, but then again I'm a model builder not a photographer.  The whole thing (especially when the wings are removed) reminds me of the Batman Returns Batmobile, not what I was meaning to build, but nevertheless cool.

Anyway I'll leave this post with this.


Tuesday, November 2, 2010

I really need to get back in the habit of posting on here once a week.

On the bright side I have been continuing the work! Firstly I’ll focus on the Kans Dreadnought CC weapons...
Here’s a close up of one of them. Because the new Kans (as well as the old Kans for that matter) have monkey arms that are simply too long I shortened it, as well as cut the back end of the sawblade off, creating a unique CC weapon, that needs only minor GS or Plasticard detailing.

My first leg set is... well done. It isn’t great. They match the dimensions of the original Kan, but without any detailing or complication of the lines it looks, well pretty naff.

My last pic for the day, is the second completed kan

The picture is awful I admit. With this guy I tried a different type of riveting that is far more conventional, the mass application of small cut roundbar. I usually do rivet detailing in painting, but these 3dimentional ones are pretty nice, just real annoying to try and put together.

Friday, October 22, 2010

Kans part 1

Been a long time, work at the college as unfortunately taken quite a toll on my free time, which sadly doesn't feel quite so free.

Anyway to congratulate myself for getting an B+ on a midterm (where there was only 1 A and 12 F's) I managed to pick up the 'new' box of Killa Kans (new being a relative term as it did come out earlier this year).

Being used to the old style Ork kits like the Warbuggy and Trukk from the GorkaMorka days I was frankly shocked at the high level of detail inside the kits.

Of course I am never content with building any kit straight, and with this kit I have an extra incentive. When the kit was first released a challenge was made to make at least 5 Kans out of a single box. And I'm gonna meet that challenge.

The first part of the challenge was to find something to build a new main body from.
I think I did quite nicely in that. About a month ago while walking I discovered a discarded piece of PVC pipe just outside a construction site, one end a shattered mess. Planning to find a use for it, I picked it up, and low and behold when cut to size it is the exact dimensions of the new Kan models.

Another early problem would be the 'Worky Bitz' and Exhaust functionality of the Kans located in their backs. The kit supplies 3 of these, each consisting of 2 parts. The obvious solution (as usual) turns out to be the best solution.
These, admittedly aren't the greatest pics in the world, however they show the crucial extension and flippage of the Worky Bitz to get more use out of them while keeping both the mostly kit built and the mostly scratchbuilt at the proper gaming dimensions.

As a last part of today's post I'll show the new backing with this Worky bit power plant on what is quite possibly the least converted mini I've done in a long time. (Although I doubt that this kan will remain as such for long.)

Saturday, September 11, 2010

Getting behind

Been behind on my updates due to the return of college life mixed with a lack of funds for more glue. The last thing I built was a couple Ammo boxes to use as Ammo Grot tokens.

One of the other reasons I'm backlogged is that I've become the Warlord of 40konline’s Way of the Waaagh (essentially the main leader/motivator of the forum).

But naturally I have the urge to build, which leads to the need to take photos and find someplace to store them, namely this blog. And since I've gotten my grubby little mits on some photocopied pages of Imperial Armor 8 I have plenty of new projects in mind!

One in particular will derail Projekt KoS for the time being, as there is a game at my LGS next month where they want everyone to bring in Imperial Armor lists (hence why I have the photocopy).

With little time, few bits, and the cheapest superglue I could find I'm gonna do my best to get together an IA 8 list ASAP.

Sunday, August 22, 2010

Battlewagon 1 Completed

Battlewagon 1, now named the Grim Villun as been completed and participated in its first game yesterday!

As you can see I did some new Glyph work, although the Grim Glyph isn't anywhere near as perfect on this Battlewagon as it is on BW2, I rather like it. Because this glyph is mounted on the side instead of straight it only further enhances the look of the model. Interesting side note on the Villun glyph is that it is from the Freeboota book from 2nd Edition, which I still have never been able to find a copy of.
Dags were really the name of the game in detailing the Grim Villun, and I did so in a number of places. This is for a couple reasons, one of which is that the now standard and iconic checkerboard pattern of black and white strips is actually a Goff Symbol (and the only Goff I like is a Goff Rocker), but the Dag pattern which is less often seen is universal for all clans.

And here in these last pics are just a few of the other details hidden about the tank, such as the damaged Trakks, the rear hatch, and the Reinforced Ram. Boom Boom Boom, the Grim Villun Freeboota Battlewagon is rolling thunder down the town, better gangway before getting flattened!

Saturday, August 14, 2010

Battlewagon Blues

I got dem Battlewagon Blues, all down dat line. I say I got dem Battlewagon Blues, just all da time.

...

Er...

Right, so I've been working on them, none of them are exactly finished.

Been working mostly on the finer details of Wagon 2 and the main assembly of Wagon 3, already nicknamed LongHaul. Its strange how the first and 3rd Wagon I seem to get some energy and creativity to put through and I get stalled out on the 2nd.


Anyway, here's some shots of BW 2...
Yea, I'm rather pleased with how that Glyph turned out. The Grim Glyph, its always been my personal favorite glyph design. Something about it just screams Waaaga to me. Now admittedly I didn't get it perfect, but it does look better in person than in the picture. And even though it's a minor detail, its by far one of the coolest details I've ever made and its easily the best Glyph I've ever made.

Oh, there will be the usual top to the front weapon mount, I don't know what happened to it which is why it is missing from the picture in the left, and as for the right, ignore the metal miniature staring through the window, he's just your average Peeping Tom. Actually I'm going to have either a Grot or Ork head peering out of the window, which will make it harder to paint what with final assembly happening post painting, but it'll be worth it in the end.

And on to BW 3, which really exploded from nothing around 2 or 3 last night.
Number 3, AKA Long Haul was planned to be a reversed Leman Russ with a chopped off front end and a Kannon centered in the middle of the Hull. Well plans change...
I think its obvious where Battlewagon 3's nickname comes from. This puppy just looks long and sleek like a nice classic caddy. This wagon, along with the first wagon's back carriage is a scrapper, meaning that since my supply of Plasticcard is so low I actually took apart an old naff looking conversion to put this one together.

I see it as a kind of Orky recycling, the krummy konversions of yesterday, powering the new Krumpy Konversions of tommorrow. The Grot spotter is one such example of this, it was originally the main detail of a buggy that I never quite finished that's been sitting in my bitz box for... I don't know how many years. The Grot himself was/is from the now discontinued Fantasy Starter Box of Orcs vs. Dwarfs. I still have to model in a handle for his little door, but its still the best use of a crummy one piece model.

Debating on if I want to put in a Trukk bed type of device or not into the back. I could, it wouldn't be hard, but it also might be nice to instead plop a bunch of worky bits on to the back of the section. These questions and more will be solved after I solve them.

Peace
~OD